Getting Started/Day One
The Basics
Familiarise yourself with the basic Arma and Anzus keybinds on the Hotkeys page. This page will prompt you but generally assumes you know how to interact and move around.
Creating a Character
When you join the server for the first time, you can create your character.
Character creation allows you to pick your face and starter clothes. Set an appropriate age, gender, and name for your character. Your character name needs to be unique and needs to be sensible.
Your backstory is only visible to you and staff, you do not have to put effort into your backstory and can put N/A if you want to.
Extra Options
The "shared bank" option allows you to merge bank accounts with your other characters with this option selected. This does not mean other people have access to your money. If you want a shared bank account in the future, you can request this at the National Bank.
Spawning In
You will be prompted to select your apartment location the first time you load in. It is sensible to put this in the main or first listed city but it is entirely your choice. You can use your Windows key to access your apartment's storage in the wardrobe or on the door to leave your apartment.
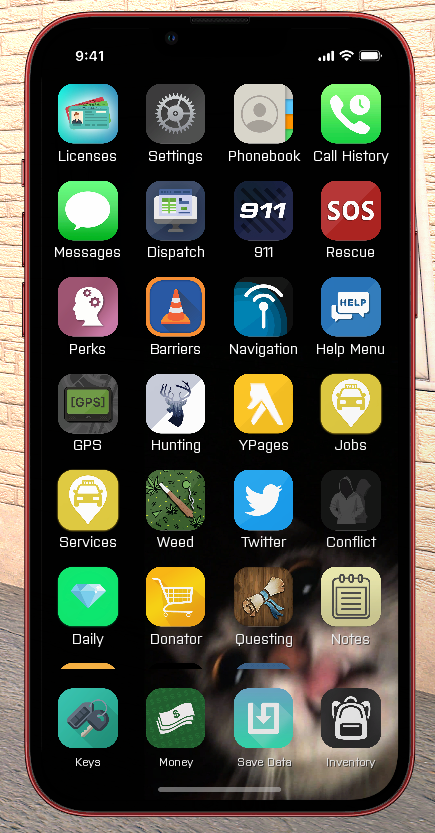
Orientate yourself in your chosen spawn city. "M" to look at your map. Shift + LMB allows you to place a marker on your map for easier navigation. "Y" opens your phone menu; you can find helpful programs such as the navigation app and the help menu.
Help Menu
The help menu contains information for getting started and can be accessed in the "Help" phone app or by pressing "ESC" and clicking "HELP". Use the drop-down menu to browse the guides.
For a new player, one of the most important pages to check is the General Keybinds.
Out in the World
Cash on Hand
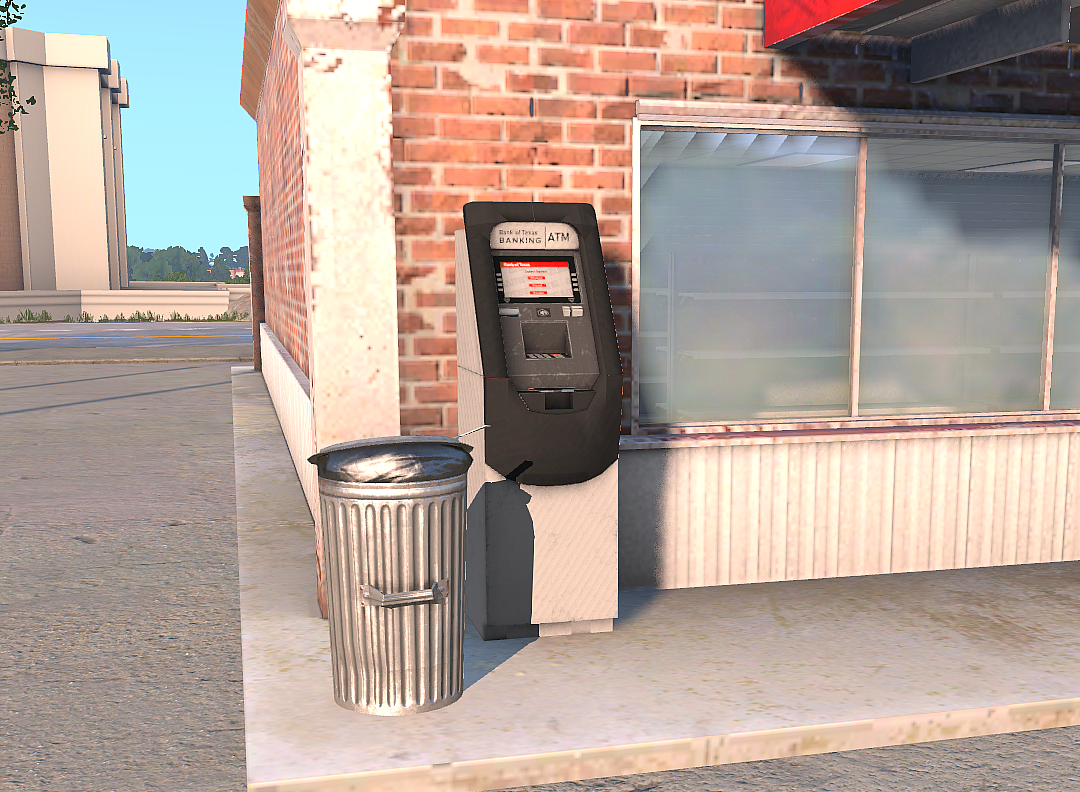
Most purchases require cash in hand. For example, supermarkets, gas stations, and the licence shop take cash only and cannot draw funds directly from your bank.
You will need to look for an ATM to withdraw funds. If you cannot find one, you can ping nearby ATMs on your map via the Bank app. A green marker will appear on your map over the closest ATM. Using your Windows Key to interact with the ATM, you can view, withdraw, deposit, and transfer your funds. Use the text box to enter an amount, hit withdraw, and the cash will be transferred to your person.
Getting Around
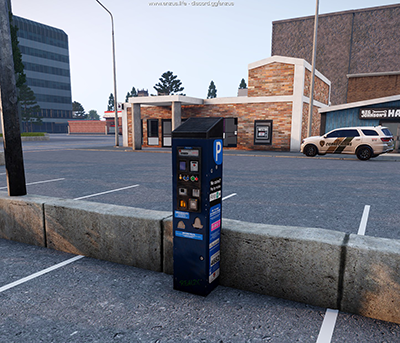
You need a driver's licence to operate a vehicle legally. If you're not bothered about breaking the law, carry on. If you are, navigate to a Licence Shop. These are marked on the map and appear as large DMV buildings. Use your Windows key on the sign to purchase a driver's licence.
You can retrieve and store vehicles at car garages. Look for "Car Garage" on your map with a blue icon of a sheltered vehicle. In game, car garages are slim black and yellow panelled shelters.
All players start with a basic red "Sanchez" dirt bike to get themselves around. This is usually sufficient for your first backpack run, job, or venture.
You can "Store Vehicle" or view your "Vehicle Garage" using your Windows key on the car garage.
As you progress, you will outgrow your Sanchez. Consider purchasing a faster, safer vehicle with greater trunk space. The truck shop will offer trucks with substantial storage space. You may wish to ask around for faster car recommendations.
Garage Options
Your vehicle garage shows your owned vehicles' names, statistics, insurance status, and police strikes. You have buttons to retrieve, sell, insure, or label your selected vehicle.
If your car is destroyed, your insurance is "used" and the vehicle is returned to your garage now uninsured. If your car is destroyed while uninsured, your vehicle will be lost forever. You can re-insure your vehicle in the "Vehicle Garage" menu. The fee is proportional to the value of your car and is always capped at $10,000.
Retrieving your vehicle will project a model of it in front of you. Move the vehicle into a clear area and use your spacebar to place or F1 to cancel and return it to your garage. There is a small proportional fee for retrieving your vehicle each time. For a Sanchez, this is only $1.
If you cannot see your vehicle in your garage, it has either been destroyed or impounded. You will be notified if the police are impounding your vehicle but you can check this at the Impound Lot.
Stocking Up
As time passes, your hunger and thirst will decrease. You may get injured and your health will decrease. You can monitor your stats bars on the bottom left of your HUD.
To buy essentials, look for the "Supermarket" and shopping cart icon on your map or use the navigation app. You can also purchase basics at Gas Stations in a pinch though their stock differs from Supermarkets (e.g. you can purchase RedGull instead of water bottles).
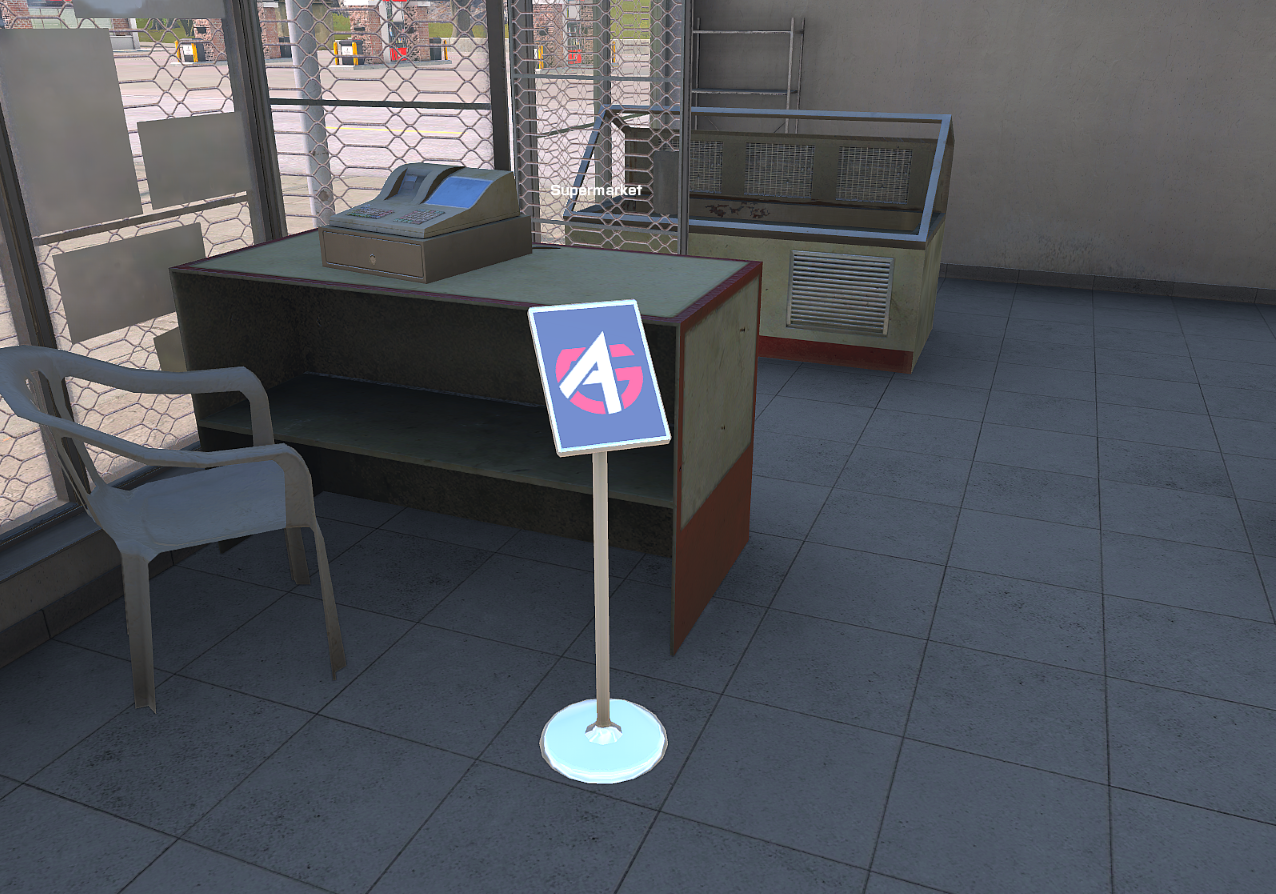
Look nearby for an ATM; you will need cash to purchase items. Locate the interaction sign at the Supermarket and use your Windows key. You can access the "Market" for virtual items such as food and bandages and the "General Store" for physical items such as night vision goggles (gloves) and a pickaxe. Select the item and "Buy" to add it to your relevant inventory.
A sensible starting loadout would include a few food items, drinks, a couple of bandages, a tool kit, and night vision gloves.
Eat, drink, and heal by "using" the items in your virtual inventory (Tab). Either RMB and "Eat"/"Drink"/"Use" or assign a hotkey and press the relevant number. View and move items in your physical inventory with "I"; drag and drop items to slots or into between inventories.
Clothes and Backpacks
Picking an outfit and accessories is a fun way of building your character. Beyond your selection at character creation, you can buy new clothes at clothing stores. Most major cities have a clothing store. Find them on your map or use the navigation app. Use your Windows key on the store's sign to browse your options.
Some clothing items have a function as well as fashion. Purchasing any backpack will give you more storage capacity. This is important when completing runs and carrying items and equipment you need to survive. Invisible backpacks function like others but cannot be seen on your person.
Clothing can be used to differentiate yourself from others which is especially important in criminal activities: gangs use matching clothes or uniforms to brand themselves and share initiation. In a combat or criminal situation, people in the same clothing are treated as one unit. Initiating on someone allows you to shoot at them and those in the same uniform in the area. Official gangs have private uniforms so there is no risk of accidentally associating with a large organisation. Should you wish to associate with other people for initiation purposes or otherwise, it is recommended that you wear the same clothing. Review the server rules for specific details on initiation.
Things to Do
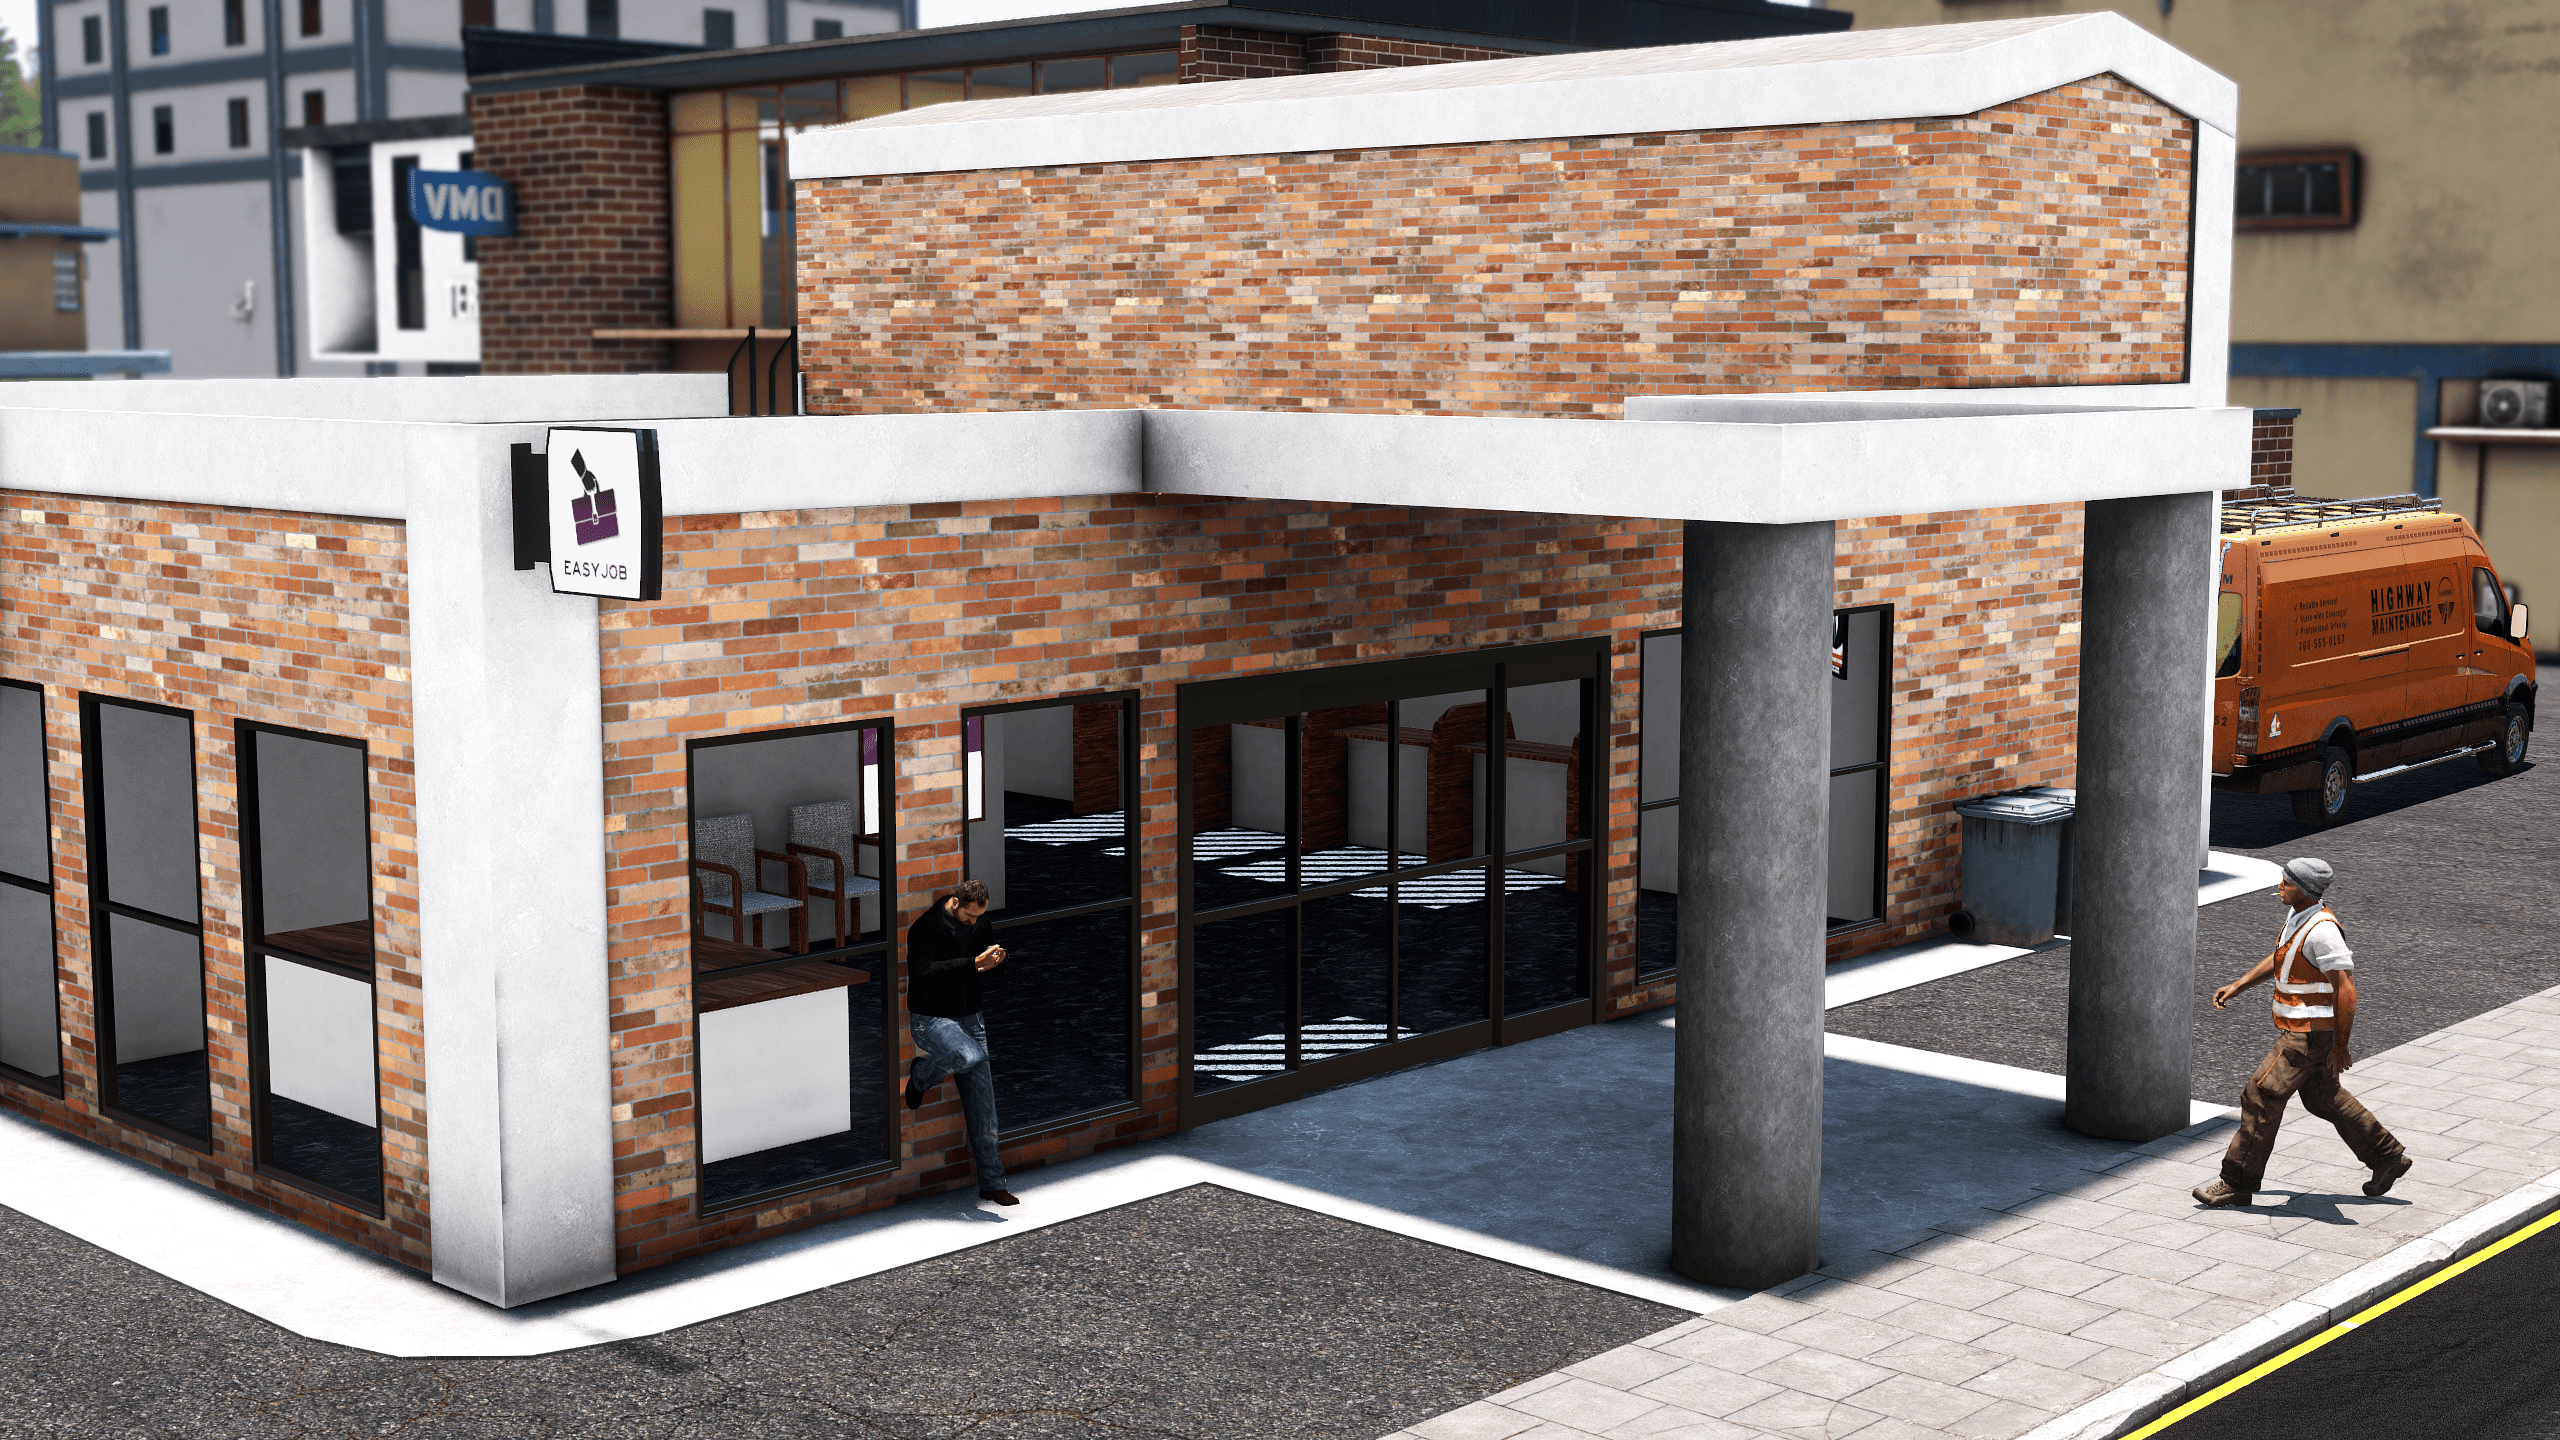
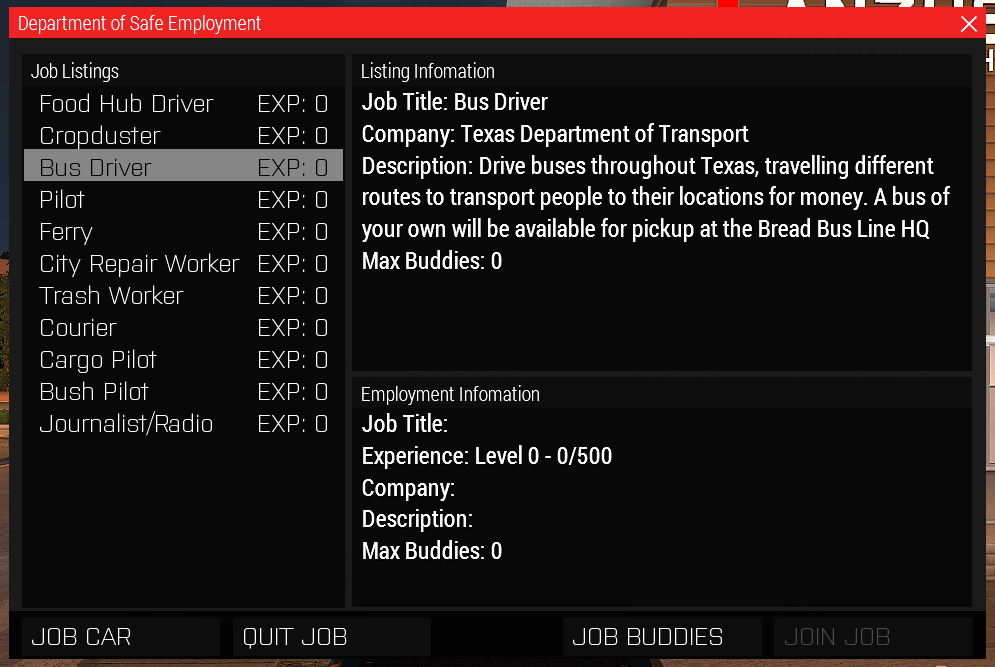
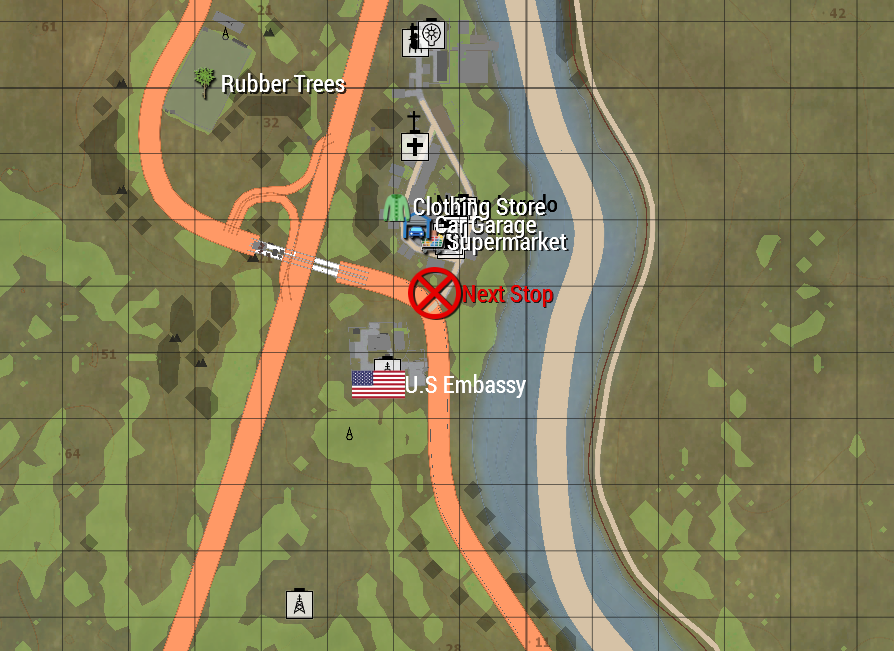
Once you are equipped and mobile, the obvious objective is to make money; popular methods for beginners include doing "runs", working a job center role, or some minor crime.
You're not obligated to make money (but it sure is helpful). As you play, you may want to prioritise XP and levelling up or focus on Quests. There's a vast choice of activities; some are more profitable than others or worthwhile in other ways.
Coal Mining
Coal mining is recommended as a first run. A "run" of any kind involves gathering a resource, processing it, and selling it. To start, you can do a "backpack run": a run where you only carry a backpack's worth of product on your person (perfect on a storage-less Sanchez). You can make a bit of cash quickly with this method.
When you have the funds, you may wish to buy a better vehicle for runs. Consider a car with trunk space or a truck with even greater capacity.
Pickaxe
Your first step to coal mining is buying a pickaxe from the supermarket. A pickaxe will take up slot "3" on your hotbar. You can pull out and put away your pickaxe by pressing "3" on your keyboard.
Mining
Locate the "Coal Mine" on your map or via the navigation app. Drive to the location in your vehicle of choice. Pull out your pickaxe and press "F" to start mining. The coal will be gathered into your virtual inventory (Tab). You will keep mining unless interrupted by another action or when your inventory is full.
If you bring a vehicle with storage space, you can transfer your backpack's worth of coal to the trunk. Use "T" on the vehicle to access its virtual inventory and Shift + LMB on the item stack to move it across to the vehicle storage. You can return to mining and repeat the process until your vehicle and backpack are maxed out.
Processing
The raw coal must be processed at the Coal Processor. Processing any material requires a fee so you may wish to pick up a few hundred dollars on the way to the processor; there is often an ATM at the location. Most processor locations will have a square furnace-like structure for you to interact with. Use your Windows key and process items. The fee will be deducted from your cash and a processing progress bar will appear. Repeat with all your unprocessed goods.
Selling
Your processed coal is now marketable and you can sell them to other players or to the coal trader. You have completed your first coal run.
As you mine, you build your mining level. Some resources require higher levels to mine but they are usually more valuable. Find out more on how to progress with mining on the legal and illegal mining pages.
The Job Center
Job Centers are found in major cities. They offer a variety of legal jobs providing services around the island. Signing on provides a larger paycheck (provided you have less than $100,000 in your bank) and bonuses for completing work tasks.
Job Menu
Locate a Job Center using your map or navigation app. Use your Windows key on the building to access the job menu. Alternatively, you can access the jobs menu via your phone's "Jobs" app. Clicking on each job listing shows you the employment information and job description. You can join, quit, view job buddies, and retrieve your work vehicle from this menu.
The Job (E.g. Bus Driver)
Join a job: for example, bus driver. To get started, most roles require a work vehicle. You can retrieve job vehicles from the role's relevant headquarters by accessing the sign or spawning the vehicle from your phone; you must still be at the headquarters to retrieve a vehicle from the app. Job clothing and equipment are found in the vehicle's physical inventory (using "I" near the vehicle).
Follow updates on your HUD for prompts on how to start your work tasks or read more on the Job Center page.
For bus drivers, locate Bread Bus Line on your map or using the navigation app. Outside the Bus Line HQ, click "Job Car" in the Jobs app. You can only select the first-tier bus as a new worker without any job XP. A red cross marker will appear on your map marking your next bus stop. Drive here on your bus and wait to pick up passengers. A new marker will appear for your next stop - drive and repeat.
Remember to "Quit Job" when you're finished in your role. Collect your paycheck and bonuses from the Paycheck Center.
And Beyond
You will gain experience and unlock and discover new activities as you play. Levelling up mining and farming unlocks new and more valuable materials to gather. Buying a gun and venturing into illegal activities will offer more profit and risk. Joining a gang can broaden your horizons and offer protection. It is up to you what you pursue.
We hope you enjoy your adventure!